

Sometimes I just get a vision in my mind and I can't shake it till it's fulfilled, even if I don't quite know how to do it, haha. Is that just me!?
Backstory: I had this big canvas hanging above our dining table. When we moved into our home about seven years ago (!!), I couldn't afford a nice artwork so hung up a simple canvas covered in a pale blue fabric (using the good ol' staple gun) and grey chunky wool twined around it... a 'temporary' solution of an abstract art work that ended up staying quite a while. Like, seven years....oops!
I was finally ready to do something different but just felt like I still wanted to use the canvas I already had... and had a hankering to do something with it involving the kids so it could be a family project and a family artwork to hang above the family table (are you sensing a theme? #family). Something abstract, something colourful, something that suited our house decor colour scheme, something drippy or splattery, something that involved the kids but didn't look like it had been done by kids, if you know what I mean!?! I mean, is all that too much to ask!? Ha!
I scrolled Pinterest like crazy and asked arty friends, but just couldn't find anything that exactly fit my vision. So, I combined a few techniques with a big dose of 'let's just try this and see what happens' and here's where we ended up!
Well, I love it and the end result totally fit my vision! The whole family loves it and we all especially love that we all got involved. The kids are super proud of their contribution (they show it off to every visitor!), it's the perfect piece to sit over our dining table and I think it's going to suit our family home for many years to come!
Our beautiful mess.... kinda perfect to represent our family life. Perfectly imperfect. We love it 'cos it's ours!
If you want to have a go, whether by yourself, with family or your classroom, here's how to do it!
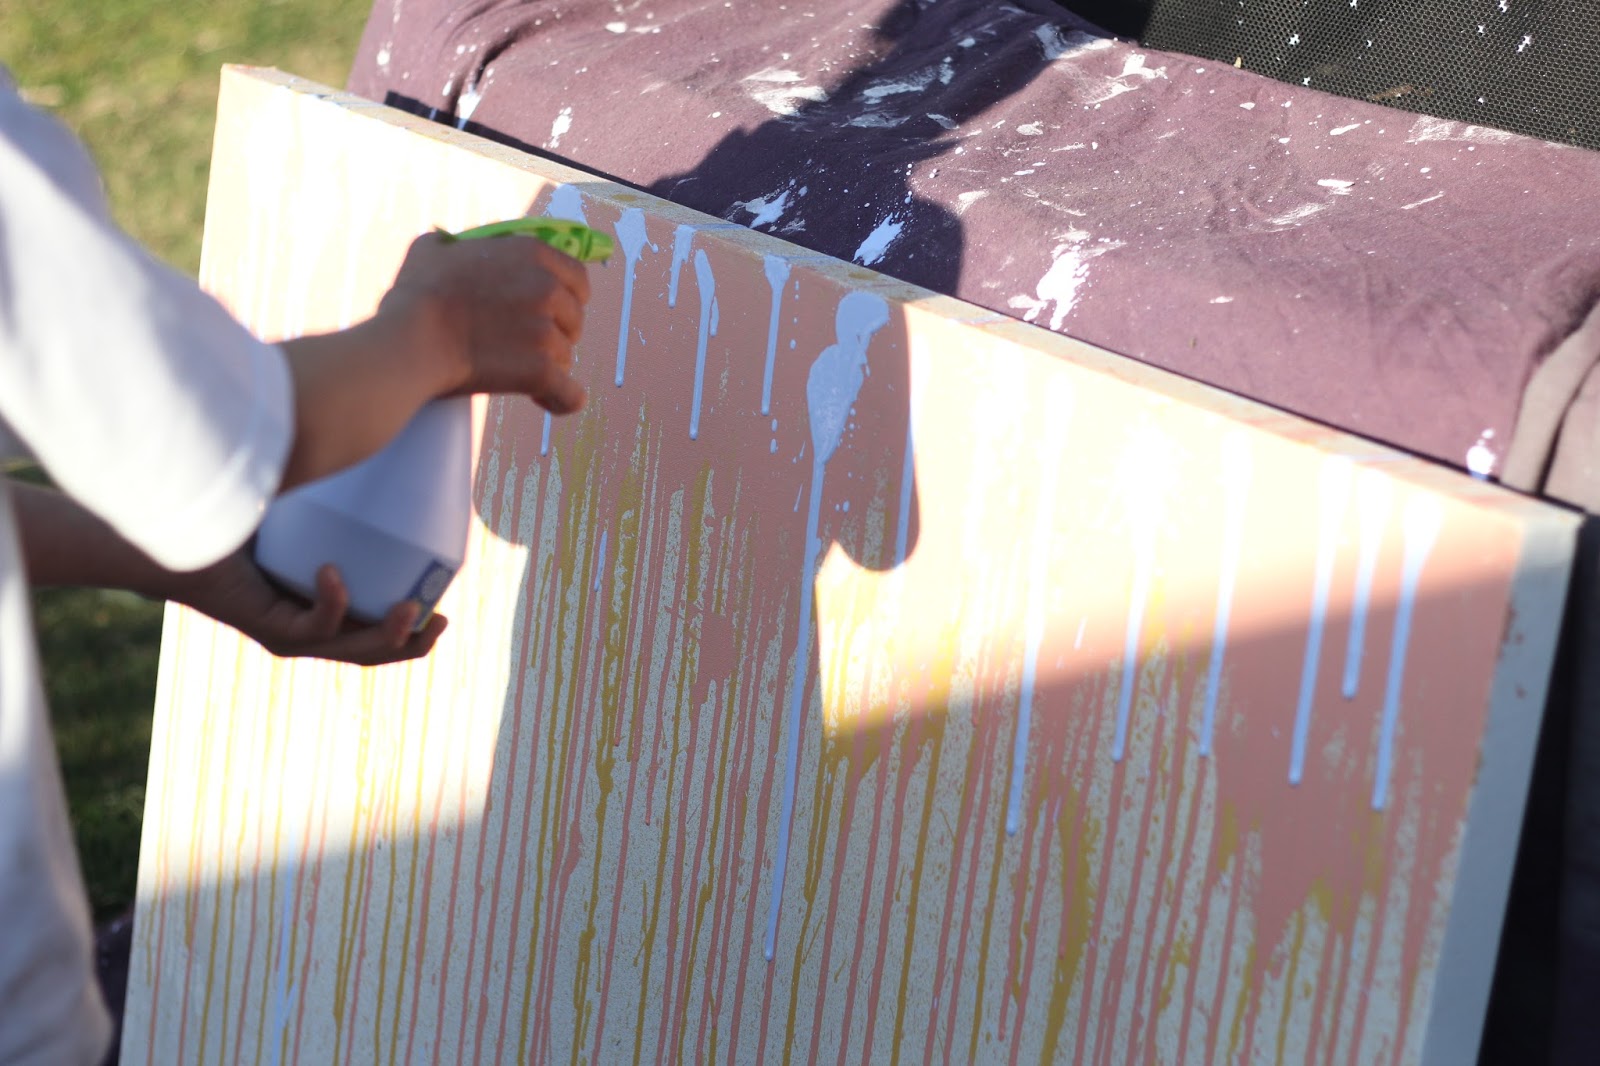
Basically, I made up 'spray bottle' paint for the fun dripping technique... spray paint is pretty toxic so didn't really want the kids going crazy with that! It's so easy and fun to do.
What you need:
- A canvas of whatever size you like!
- Acrylic paints - choosing the colour combo is the best part :)
- Spray bottles - one for each colour you want to use
- Jug of lukewarm water (not cold from the tap, you want it slightly warm to help make the paint nice and runny)
- The secret weapon - a little bead or corn kernel to go into each spray bottle to help mix the paint when you shake it. Or use a kid's baby tooth like they do in each spray can (Simpsons reference, sorry! #itsajoke)


The How-To:
- Find a space outside to set up your canvas, perhaps with a drop sheet as well. There will be overspray! Ask me how I know, haha.
- Mix up the paint in the spray bottles. How thick or watery you make the spray will depend on what you want the painting to look like and also I think the brand of paint will affect it too. I wanted it to be pretty richly coloured (so it looked like acrylic paint, not watercolour) so I make it pretty thick. For this, I did a ratio of about 1/3 paint to 2/3 lukewarm water. You can trial/experiment with it, for a more watercolour effect, maybe do a quarter paint to three quarters water. Start with a little paint and give trial sprays on paper and adding water till you get the effect you like!
- So - add the water, then the paint, then lastly the bead or kernel. Then shake, shake, shake!
So first of all, my little assistant helped me make a very watery 'undercoat' layer with the grey colour (I did probably a quarter paint or less to three quarter for this one). I don't know if it really was needed but I wanted to give the canvas a good base and for the paint to run well over.


Then, it was time to spray!!! Now, if you are doing this with a bunch of kids, for everyone's sanity, I suggest just working with one kid at a time. Each kid got assigned a colour, they would come out to the carport and go on a spraying frenzy, then we would let it dry for a couple hours or longer before doing the next layer. I encouraged them to just spray along the top of the canvas and they really loved watching the paint run down!
I worked with four colours (one for each kid and then hubby and I shared the grey). I ended up doing two layers of each because I got very perfectionistic, haha and didn't like how I finished on the grey (it looked too dark) so I started layering over again!! So grey base layer then yellow, pink blue, grey, yellow, pink, blue. I would suggest starting with darker colours and layering so the lighter ones are on top.


We are so happy with our messy little artwork and all the memories it now contains. Let's see how long it hangs on the wall.... probably for quite a few years! #familyheirloom?!
And if you get a hankering to make one too.... enjoy... and I would love to see a photo!


Then, it was time to spray!!! Now, if you are doing this with a bunch of kids, for everyone's sanity, I suggest just working with one kid at a time. Each kid got assigned a colour, they would come out to the carport and go on a spraying frenzy, then we would let it dry for a couple hours or longer before doing the next layer. I encouraged them to just spray along the top of the canvas and they really loved watching the paint run down!
I worked with four colours (one for each kid and then hubby and I shared the grey). I ended up doing two layers of each because I got very perfectionistic, haha and didn't like how I finished on the grey (it looked too dark) so I started layering over again!! So grey base layer then yellow, pink blue, grey, yellow, pink, blue. I would suggest starting with darker colours and layering so the lighter ones are on top.
 |
| He chose this outfit including the hat, lol. Perhaps he was channelling his inner French artiste?! |


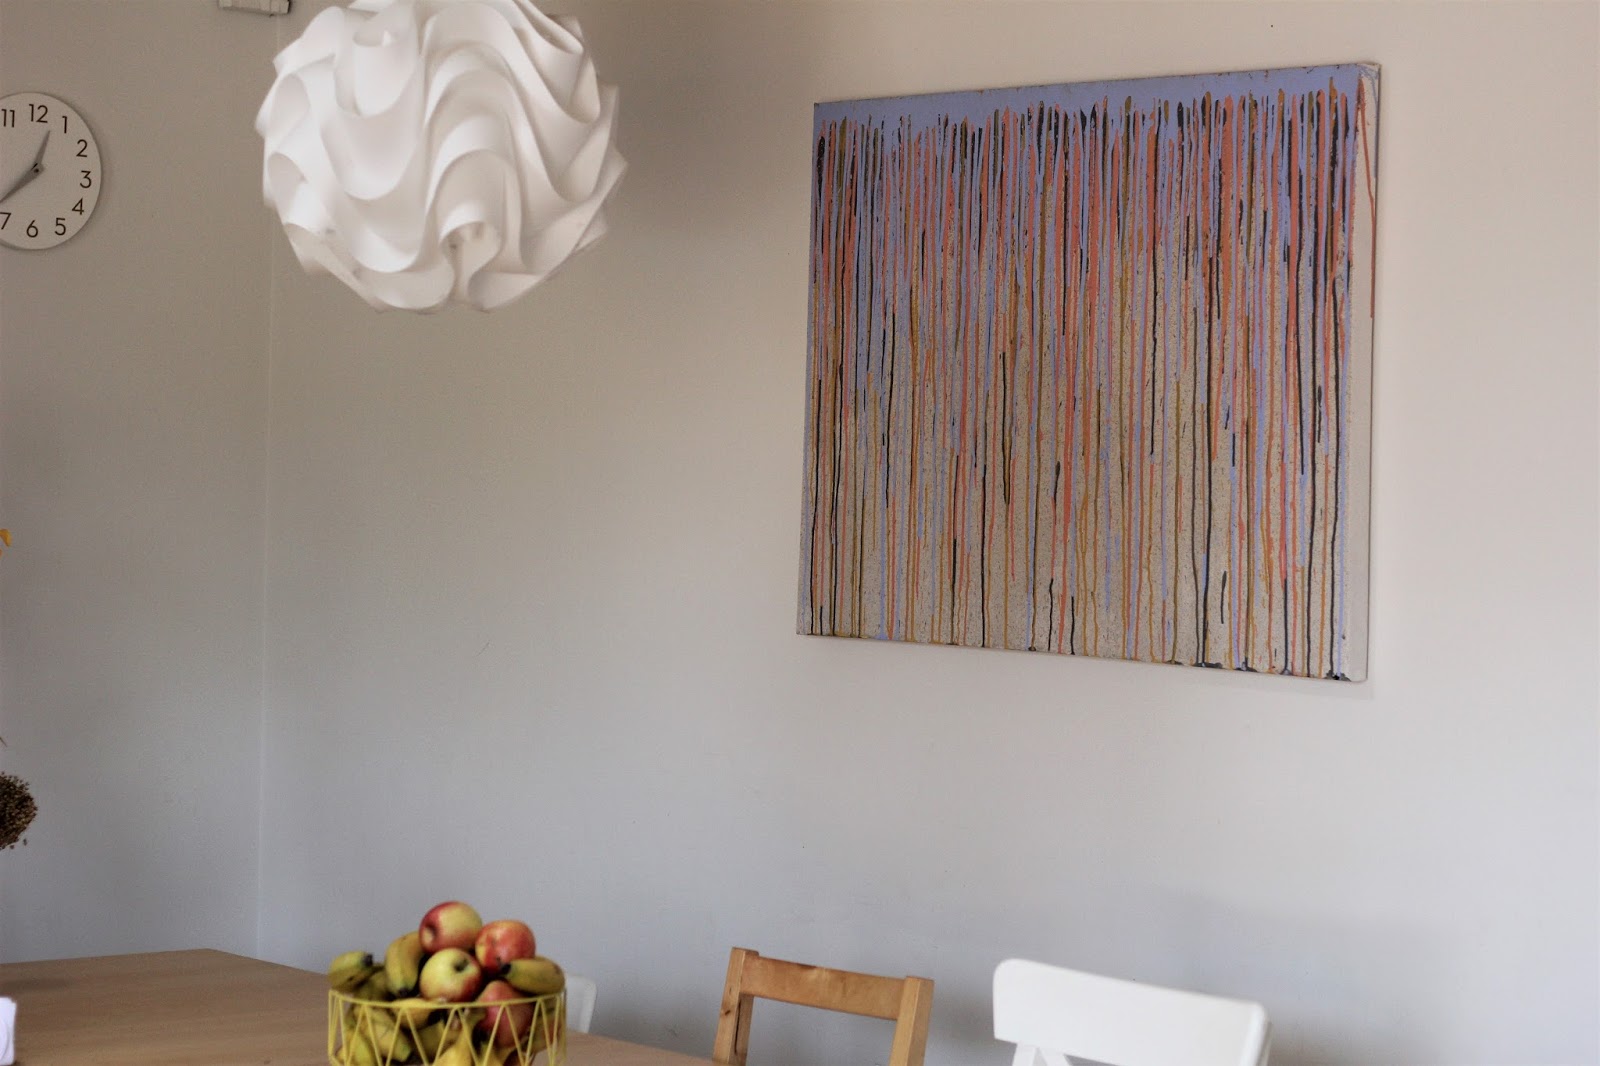
And finally, after a very impatient wait (may or may not have been not quite dry!), it was ready to hang over the dining table! Actually, beforehand, all the kids signed the back and we put the date on it. Our beautiful mess :)


 |
| Kinda obsessed with all the tiny flecking all over it |


We are so happy with our messy little artwork and all the memories it now contains. Let's see how long it hangs on the wall.... probably for quite a few years! #familyheirloom?!
And if you get a hankering to make one too.... enjoy... and I would love to see a photo!

No comments:
Post a Comment
i love to hear your thoughts, thanks for leaving your comments! xx